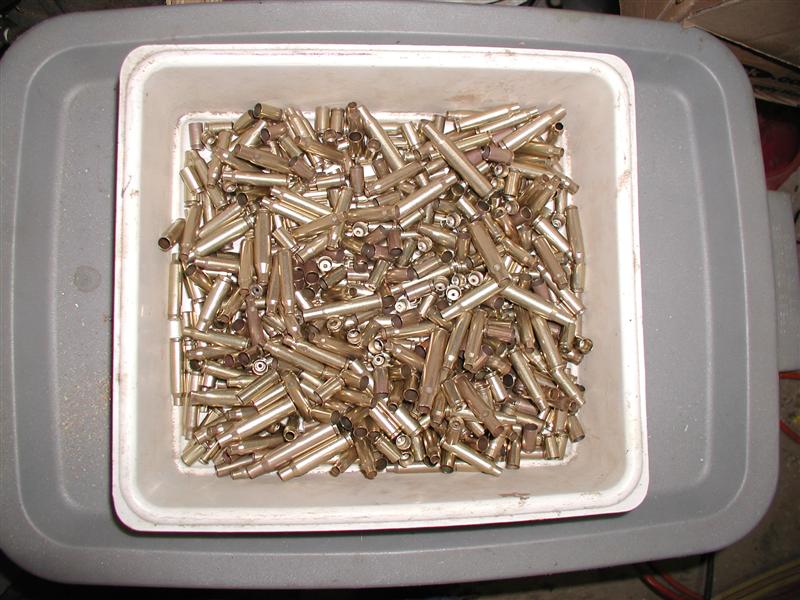
Turning old tarnished range brass from this.......
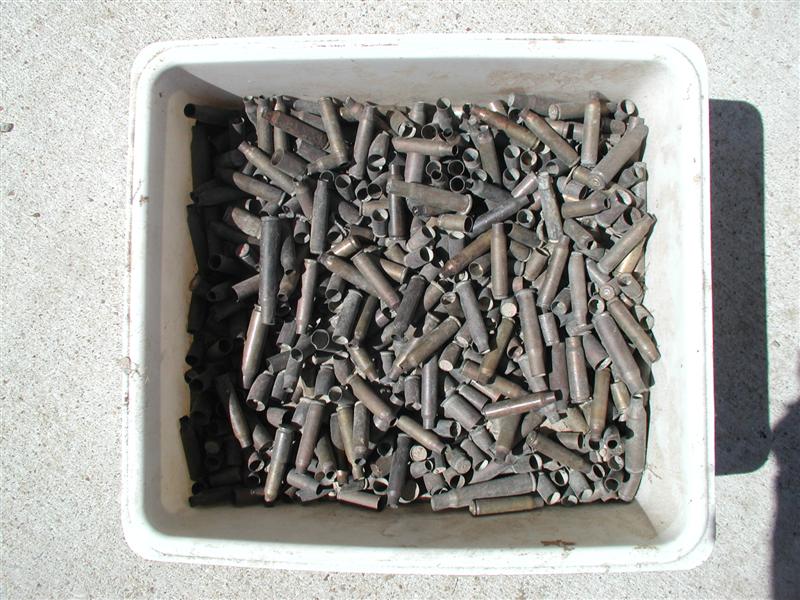
.........to this!
Turning old tarnished range brass from this.......
.........to this!
Some suggestions for getting real shiny brass:
It is important to have the right ratio of brass, to stainless steel pellets, to detergent, to water, to Lemi-shine, and time tumbling. If mixed properly the result should be mirror smooth, shiny brass. If the amount of media is insufficient or the time tumbling is too short the brass will have a clean but dull or satin appearance. Any deviation from the correct ratios will give unsatisfactory results.
Overloading the tank with brass, pellets, and/or water will not get brass clean and shiny. The tank pictured on this page is about 2-1/2 gallons capacity. It is best to load no more than a gallon size paint can full of brass, 1-1/2 cups of pellets and enough water to cover the contents by about three inches. Hot or warm water is not required. It will just cool off anyway. Add about a half tablespoon of dish detergent and a half teaspoon or less of Lemi-shine. You can tumble smaller amounts of brass but that would just waste time and extra wear and tear on the motor and belt.
Tumble the brass for about 2 to 3 hours. Too little time and the brass won't get clean. Too much time and the brass may turn dark and/or you will be removing too much of the brass surface thus thinning the brass too much. Listen to the noise the drum makes. It should have a distinct "chop" "chop" "chop" sound as it agitates the brass. If the sound is a smooth rattling sound, you are not getting adequate agitation. This is caused by too much brass and media or too much water. There should be a good size air pocket inside the drum.
Do not leave a fully loaded drum either pre or post tumbling overnight or for an extended period of time.
You can use a conventional media separator and a few buckets to separate, rinse, and transfer cases. I usually have a few magnets in my sink or wash tub when rinsing and separating the stainless steel media from the brass to catch any stray pellets. If the process is successful you will notice a very black, dark yellow, or dark greenish tint to the spoil water. This is good as it represents the process has worked.
It is also advisable to use cheap disposable latex gloves during the complete cleaning process. The dirty washout will stain your hands and everything around you. Using gloves will keep fingerprints from eventually staining or contaminating the freshly cleaned brass. Plus, it's not a good idea to leave fingerprints on any cases and loaded ammo for obvious reasons.
Wash the freshly tumbled brass in clean warm water until all signs of dirty water and suds are gone. If initial observation still shows a clean but dull appearance, try starting over again with water, soap and Lemi-shine for another hour or so. I like seeing a mirror smooth case surface. But don't over-tumble it.
After rinsing I dump the freshly clean brass onto an old bath towel and thoroughly massage the cases until the outsides are dry, still wearing gloves to prevent tarnished brass or stained fingers. Transfer the brass to another dry towel for final drying. At his time you can closely inspect the brass for imperfections, rejects, etc. You may also find that some heavily tarnished brass that is almost black will not shine no matter how long it's been tumbled. Usually the zinc has turned black and this brass is best removed for recycling, or you have steel cases that made their way in. Keep a magnet nearby to pick up any stray pellets that weren't separated.
Spread them out and leave overnight or out in the hot sun for at least three hours.
Note: If you are attempting to clean brass such as the ones seen in the top two pictures on this page, be aware that too badly tarnished brass may be left too thin to use. You can see by the second picture that some of the brass has a pinkish look to them. This is because most of the zinc has been etched away leaving the copper behind. Do not attempt to use this brass because it may burst due to the weakness in the case walls.
First things first:
Sort the brass. Do not mix calibers, especially straight wall handgun cases with these exceptions: 380 and 9 mm, 44 Mag and 45 caliber. 40 SW should not be mixed with any other straight wall brass and seems to sneak in with 9 mm or 44/45 cal. When they tend to mate with each other you may have a difficult time separating them.
Also sort the brass. Slightly tarnished and medium dirty brass, from heavily tarnished and/or oxidized brass. Lightly tarnished brass won't require the full time tumbling whereas the heavily tarnished brass may need extended time tumbling.
If you want flash holes sparkling clean you will want to decap all the cases before tumbling.
If recycling range brass, try to shake out any dirt or sand from inside cases. Discard any steel and Berdan non-reloadable brass. Discard out any severely dented cases or brass with obvious cracks.
Do not tumble nickel plated cases. The pellets will remove the nickel plating and leave the brass too thin to use. Tumble these in corncob or walnut media only.
Most bottlenecked rifle brass calibers can be mixed unless you have determined certain caliber case mouths are "kissing".
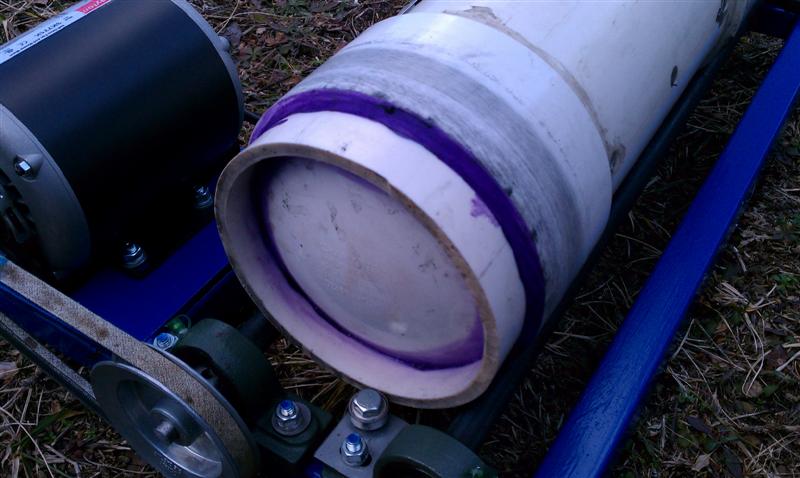
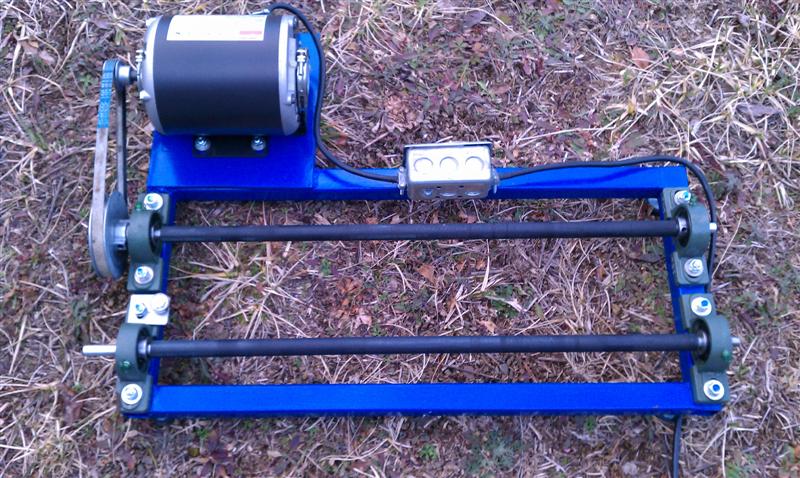
I fabricated my wet tumbler from ideas posted on the AR15.com website.
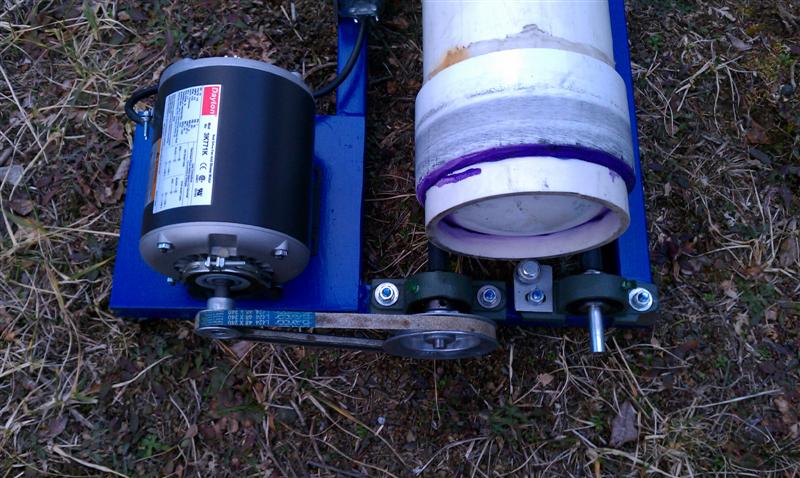
There is a bearing in the bottom center of the above picture. The frame should
be tilted slightly so the drum just barely touches the bearing during the tumbling
process.
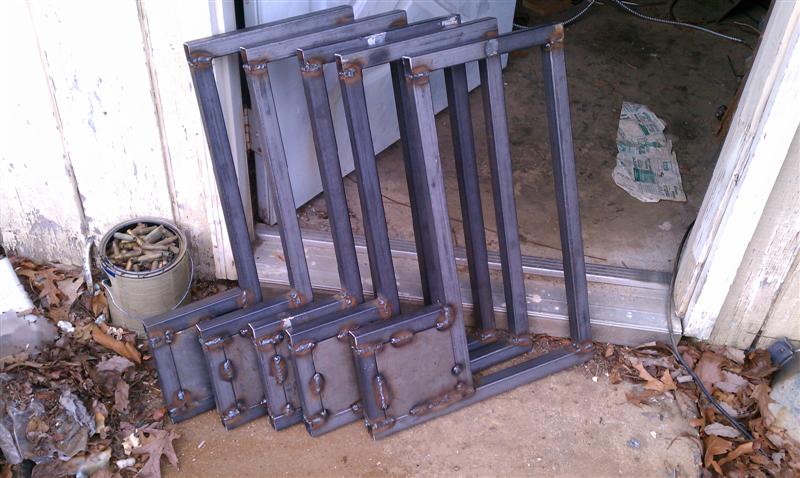
Five more frames mig welded and ready to be drilled.
If anyone is interested in a complete system with media contact me and I'll let you know price and availability including shipping to the U.S. only. If you have any questions, comments, or suggestions please contact me. Send me your pictures and I'll post them here. Just email me if you can to let me know you've seen this page. Thanks!
Also be sure to check out my 223 to 300 Blackout conversion process.
Updated January 6, 2014